Had a couple hours yesterday and some time today so I finally got to working at putting Dad's model 71 back together. Twice I was stumped and had to take pieces back out and study the piece that was giving me trouble so I knew what needed to happen for it to go together right. A bolt action they are not, pretty complicated assembly especially as a newbie to it, but I learned some tricks in the process. Could've used an old experienced hand looking over my shoulder giving me pointers, but I got it.
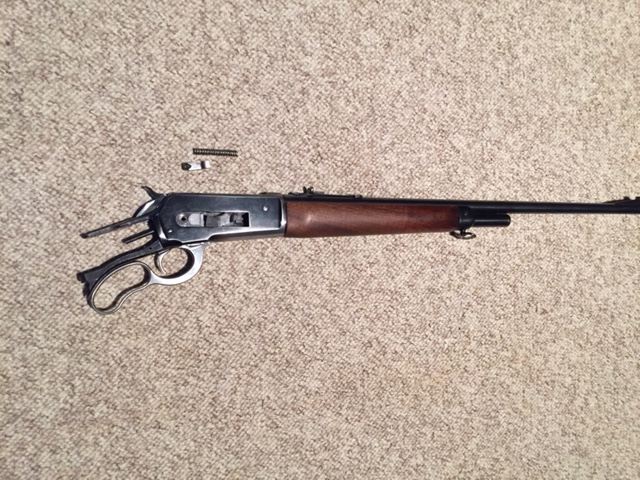
Anyways got it all together and everything seems to function properly as far as the lever, bolt, carrier, etc. All I had to do yet was put the load gate on the side, and install the hammer spring and it was ready to have the stock put on it.
The hammer spring has a spring stop that sits down in the lower tang, a pin goes through that stop which holds it in place and thus keeps tension on the spring. When I took it apart I used a drift pin to drive the spring stop pin out then just removed the drift pin and slid spring and stop off. I thought I could put it back together the same way it came apart....use a drift pin to hold the spring stop in place, then drive the tang pin through it. WRONG.
There's no possible way to compress that stiff spring by hand and put everything back in its place. After looking it over closely I discovered a small vertical pin hole near the end of that hammer shaft that the spring goes on. WHILE I HAD THE HAMMER OUT I was apparently supposed to compress that spring onto the hammer shaft and hold it back by putting a pin of some type through that small hole in the hammer shaft. Then install everything, then pull the pin letting the spring go against the spring stop.
That hammer was the 3rd from the last piece to come out followed by the bolt and lever. I'm gonna take it to a smith and see if there's any possible way to compress the spring while assembled, if not it has to come apart again. But at least now I understand everything for reassembly if it comes to that.