truck driver
Ammo Smith
- Mar 11, 2013
- 7,510
- 1,322
Well I do believe I said there would be a sequel to this so here you go.
The 35 Whelen AI was up next and I had some time off from work last week so I broke it down filled the pillars to length and attached them to the action same as before in part 1.
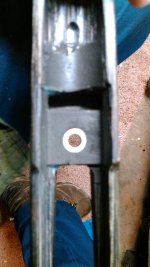
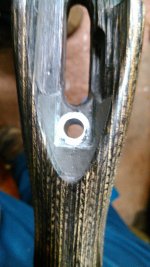
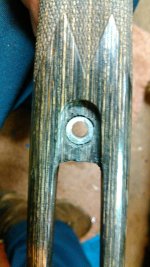
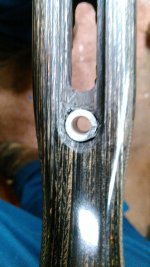
This time I didn't have to worry about the action alignment in the stock since it had already been factory bedded. So I drilled out the action screw holes with various size bits up to 17/32" to accommodate the pillars. took the Dremel tool and and roughed up the interior of the holes for a better lock and grip for the Devcon. Got to the recoil lug to remove the old bedding material used by the factory which was some kind of plastic glue like material that was semi soft and a real pain since it clogged the cutter bit and had to be cleaned frequently. Waxed and tapped everything up and decided to make this one a one step project. Yeah pillars and recoil lug all in one step.
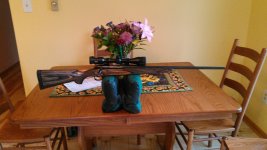
Here's some pictures and the dang area under the barrel shank still didn't come out the way I wanted it to but still good enough to support the barrel so I'll let well enough alone till I shoot it and see if there's a problem.

