pre6422hornet
Handloader
- Jan 24, 2012
- 974
- 9
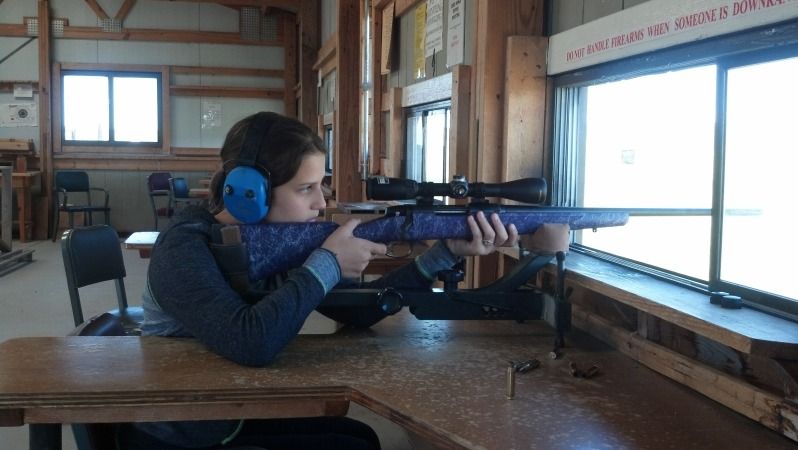
So I finished another project. This one is the "Pink Princess".
It stared life as Classic Stainless Boss in .243 that I bought back in 05 or 06. It shot very well, and even with the BOSS CR that I installed I couldn't stand the darn thing on the end of the barrel. Well when my oldest daughter was born I started thinking about making a rifle for her. Then daughter 2 came, and then daughter three. Now 6.5 years later I decided it was time. I found a brand new take off Winchester FWT barrel in .243 and had a local smith swap the barrels ( that was a 6 month process :evil: and a story best saved for later).
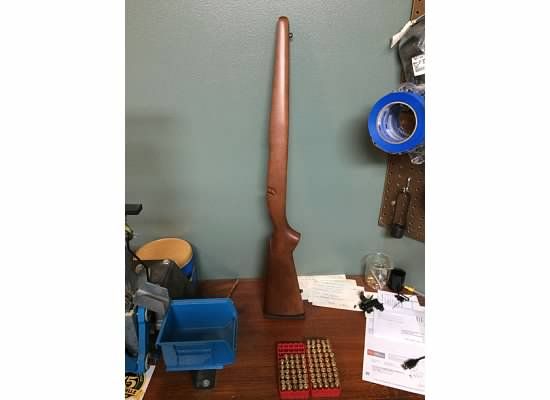
Anyway in the mean time I found a decent unused Winchester Ranger Youth stock that was made for one piece bottom metal. I had a one piece to 2 piece adapter laying around so I was in business. Here is the day we started. Yes I said "we". I had some help by a little 6.5 year old. No checkering and the typical Winchester walnut spray finish.
We lathered the stock up with zip strip, scraped, sanded, etc.. until we had bare wood. Then I used marine tex and bedded in the two piece bottom metal adapter. At this point we were ready for the action, but the smith decided to take his own sweet time. So in the meantime we talked and talked and talked about what color we wanted for her stock. She was adamant it be pink. So I obliged. We went to Sherwin Williams and grabbed a pint of the "passion pink" stain and went at it.
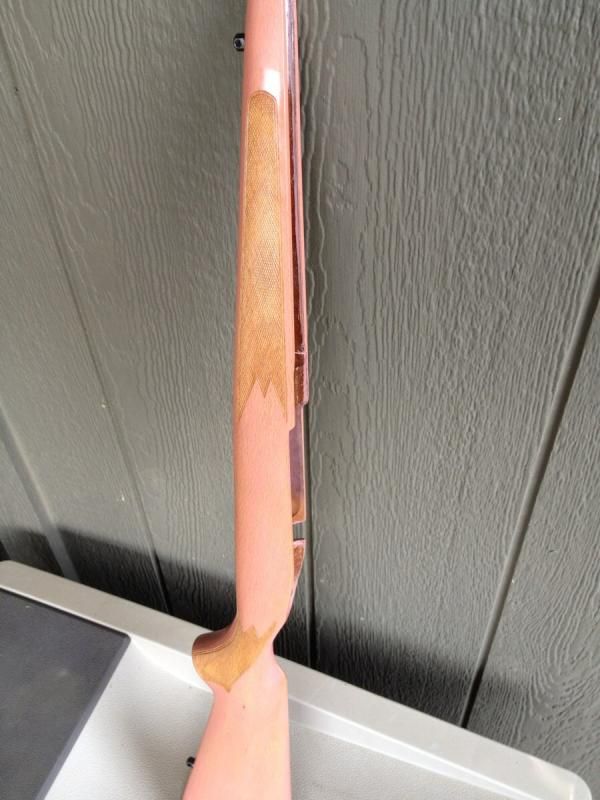
After a couple coats and a week of drying, I then put 15 coats of tru oil/armor all and rubbed and rubbed and rubbed. Another week of drying and it was ready for checkering. I let Mackenzie design the panels and luckily she didn't go too crazy. The forearm she wanted to look like a bullet so I rounded off the ends ( not easy actually).
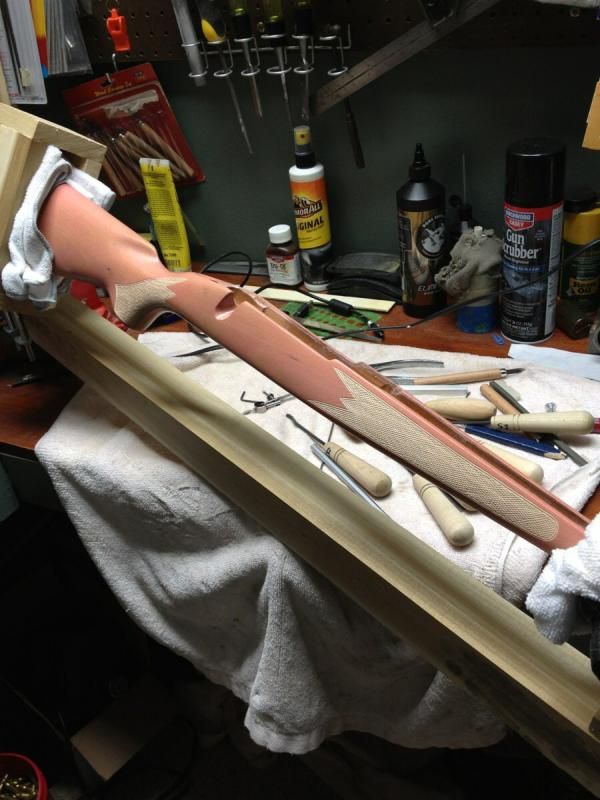
With the checkering finished, I sealed it up and let her dry:
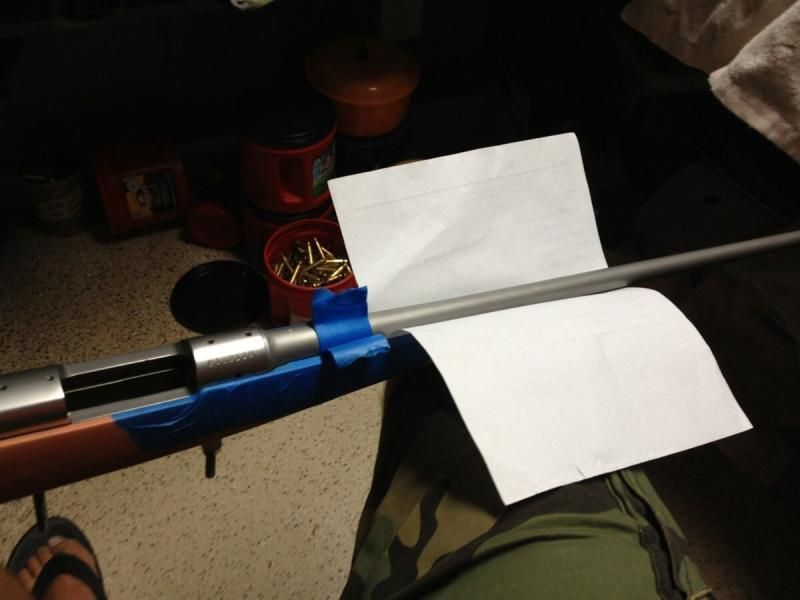
Now to the bedding. I bedded the entire action in marine tex. Here is how I set them up for support through the chamber, then free float:
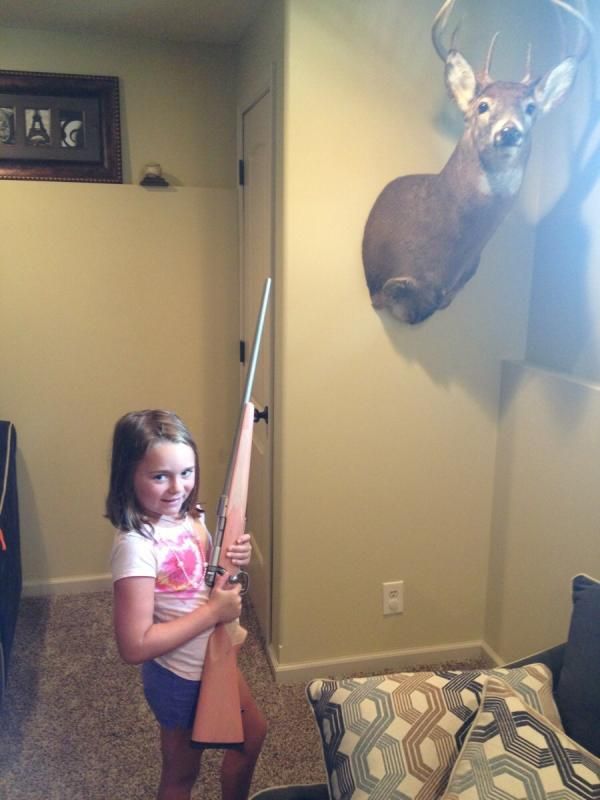
After that I felt it was time to let Mackenzie hold the rifle and see her reaction. I think her smile says it all..
Next we installed a Crossfire Vortex 2x7x32 in Talley two piece mounts and we practiced dry firing across the basement with a picture of a deer taped on the wall 25 feet away. It is just a hair too long for her, but next year she should be good to go. I plan on having her shoot the Hornet for a while, then move up to this with reduced loads of H4895 and 55gr BT's,

So there it is from start to finish. Took 8 months to accomplish between waiting for a smith to " find his 243 reamer", work, coaching softball, life....
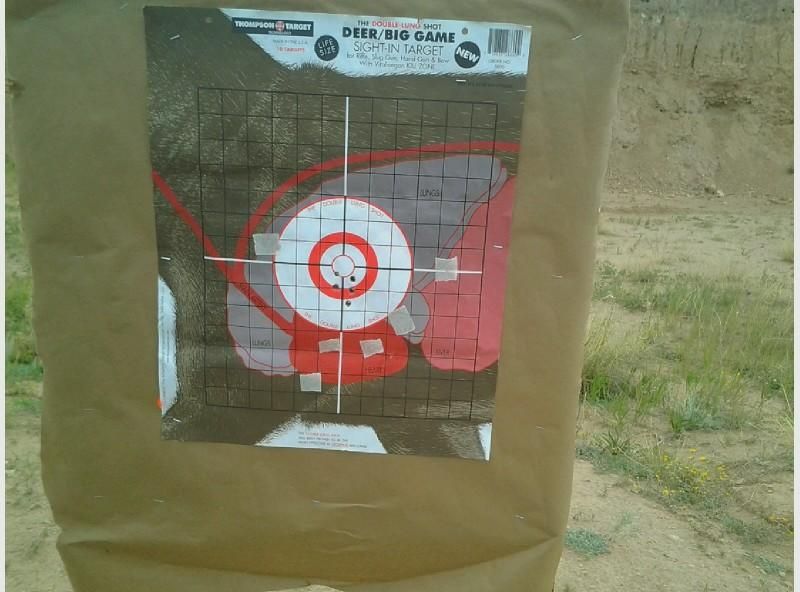
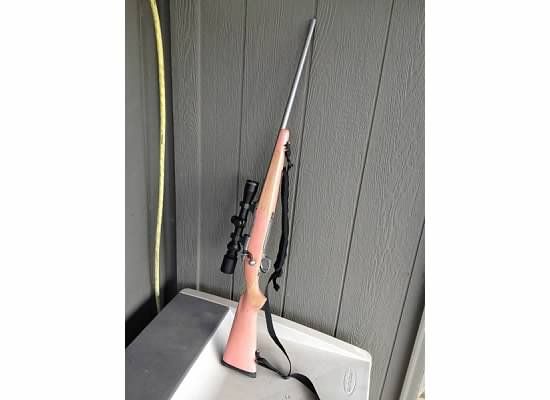
All slung up and ready for work. I already have 50 rounds loaded up of full power loads for me to sight it in. I have no issues shooting the "Pink Princess" in public. In fact I am proud to. Oh yeah, I have about 99% of that pint of stain left so if anyone wants a few hunks of walnut stained, just let me know. I can help you out :grin:
It stared life as Classic Stainless Boss in .243 that I bought back in 05 or 06. It shot very well, and even with the BOSS CR that I installed I couldn't stand the darn thing on the end of the barrel. Well when my oldest daughter was born I started thinking about making a rifle for her. Then daughter 2 came, and then daughter three. Now 6.5 years later I decided it was time. I found a brand new take off Winchester FWT barrel in .243 and had a local smith swap the barrels ( that was a 6 month process :evil: and a story best saved for later).
Anyway in the mean time I found a decent unused Winchester Ranger Youth stock that was made for one piece bottom metal. I had a one piece to 2 piece adapter laying around so I was in business. Here is the day we started. Yes I said "we". I had some help by a little 6.5 year old. No checkering and the typical Winchester walnut spray finish.

We lathered the stock up with zip strip, scraped, sanded, etc.. until we had bare wood. Then I used marine tex and bedded in the two piece bottom metal adapter. At this point we were ready for the action, but the smith decided to take his own sweet time. So in the meantime we talked and talked and talked about what color we wanted for her stock. She was adamant it be pink. So I obliged. We went to Sherwin Williams and grabbed a pint of the "passion pink" stain and went at it.
After a couple coats and a week of drying, I then put 15 coats of tru oil/armor all and rubbed and rubbed and rubbed. Another week of drying and it was ready for checkering. I let Mackenzie design the panels and luckily she didn't go too crazy. The forearm she wanted to look like a bullet so I rounded off the ends ( not easy actually).

With the checkering finished, I sealed it up and let her dry:

Now to the bedding. I bedded the entire action in marine tex. Here is how I set them up for support through the chamber, then free float:

After that I felt it was time to let Mackenzie hold the rifle and see her reaction. I think her smile says it all..

Next we installed a Crossfire Vortex 2x7x32 in Talley two piece mounts and we practiced dry firing across the basement with a picture of a deer taped on the wall 25 feet away. It is just a hair too long for her, but next year she should be good to go. I plan on having her shoot the Hornet for a while, then move up to this with reduced loads of H4895 and 55gr BT's,

So there it is from start to finish. Took 8 months to accomplish between waiting for a smith to " find his 243 reamer", work, coaching softball, life....
All slung up and ready for work. I already have 50 rounds loaded up of full power loads for me to sight it in. I have no issues shooting the "Pink Princess" in public. In fact I am proud to. Oh yeah, I have about 99% of that pint of stain left so if anyone wants a few hunks of walnut stained, just let me know. I can help you out :grin:


