pre6422hornet
Handloader
- Jan 24, 2012
- 974
- 9
Well it has been a work in progress for some time now. Started in Missouri last year, and finished here in New Mexico.
I bought this 1959 Alaskan from a well known model 70 dealer on the east coast about 2 years ago and when I got my hands on it I was really upset. The stock was cracked at the tang and at the rear of the trigger guard. It had been glass bedded. Someone had drilled a hole across the stock and filled the hole with epoxy in the same spot where a cross bolt is usually installed. None of this was disclosed at time of sale, nor did the pictures show this. I even called and talked live to the dealer and asked if there was anything not original with the stock ( he said "no").
Anyway I scoped it and shot it. It would group 2 close together and one flyer everytime. I started checking screw tightening, sequence of tightening, forearm screw torque, etc.. all the things I know to mess with on the M70's. Nothing worked. But when I paid attention and loosened the front action screw in the dead quiet, with my ear close, I could hear the barrel squeaking. I took it apart, reassembled, and tried again.... Squeak!! Okay I had a stock issue.
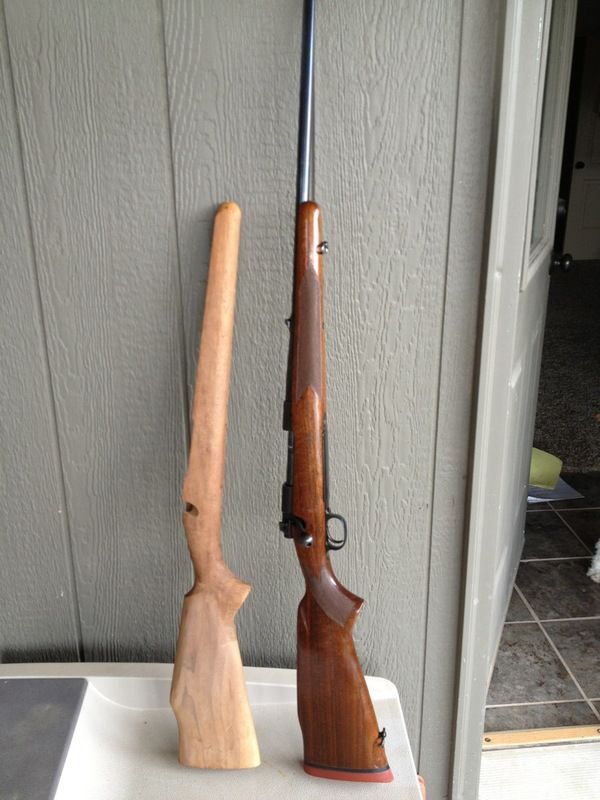
Well now the cool part. Found a stock that was rough inletted, barrel channel the size of a pencil, it had a Weatherby esque comb, and the bolt would not even fit in the slot. Best part it was 75 bucks. I bought it. The wrist was huge, and the forearm was really wide. Here was the day I started:
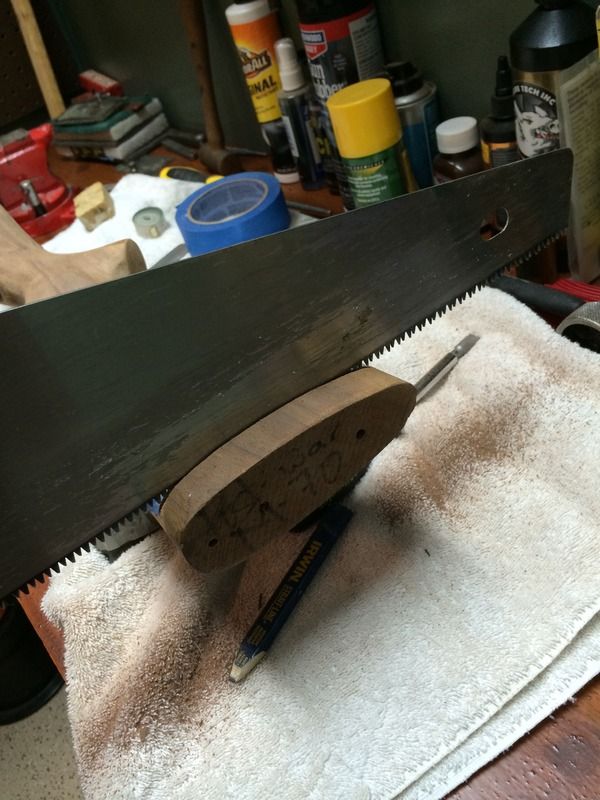
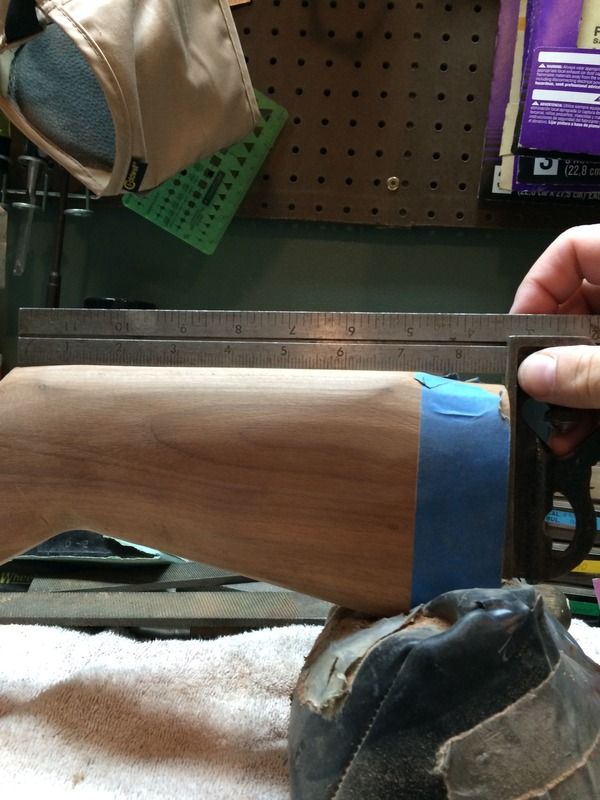
So I again wanted to go old school with no power tools. First up, cut to fit. This made me nervous but going slow I was able to maintain a straight cut and then sand it square in short order.
Then with a course file I knocked down the comb to a more classic M70 look.
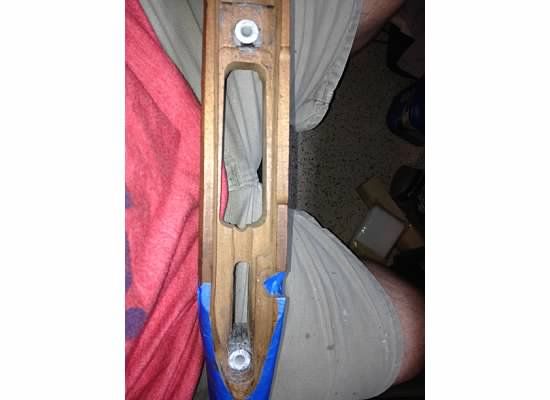
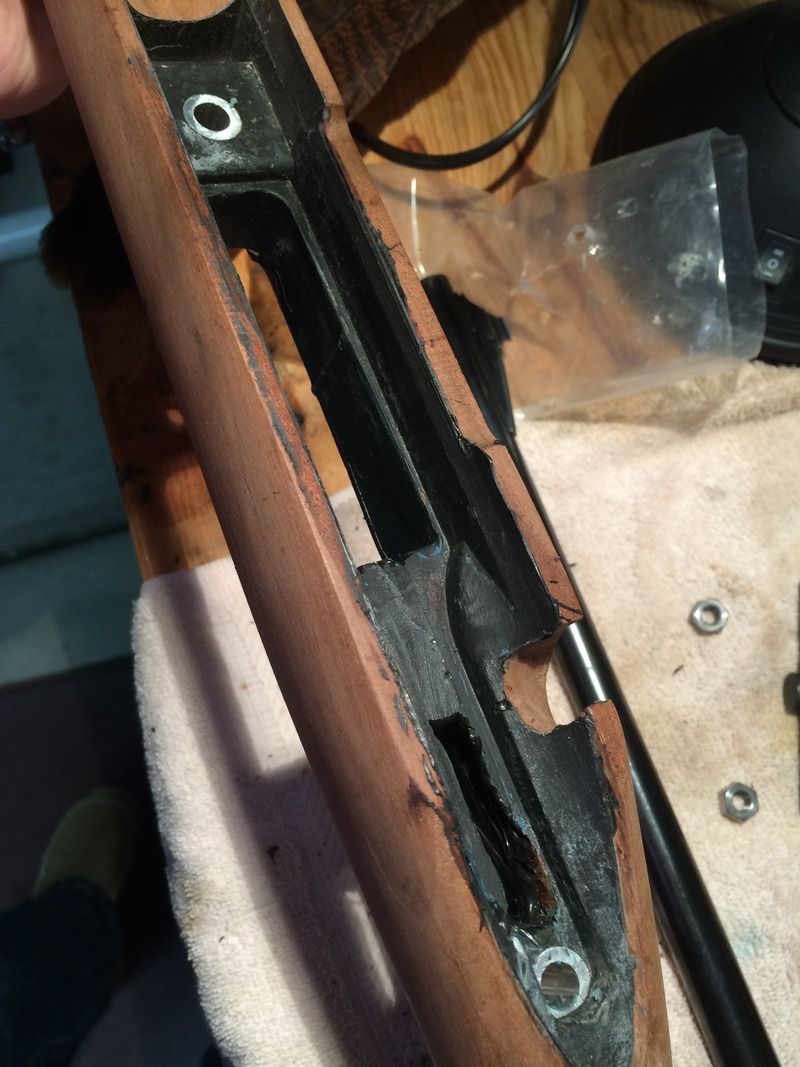
After that i inletted the barrel channel, rear tang, and set the pillars:

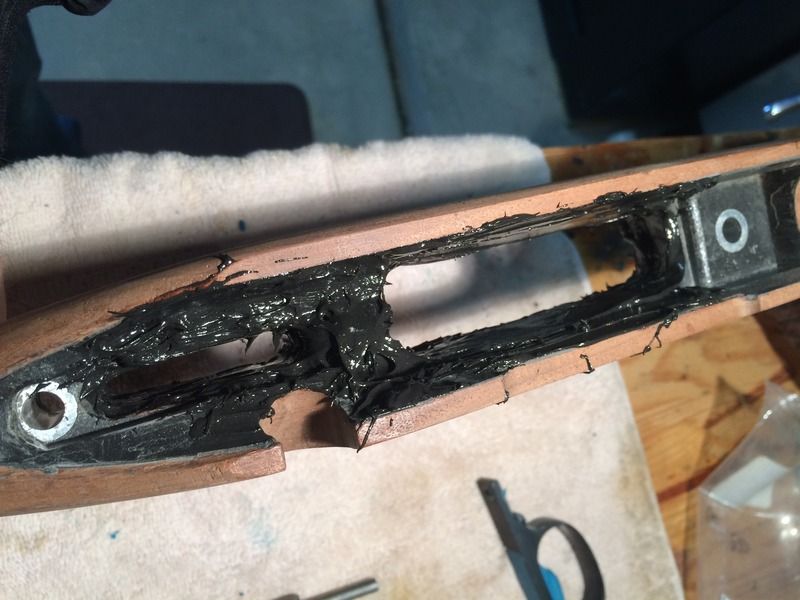
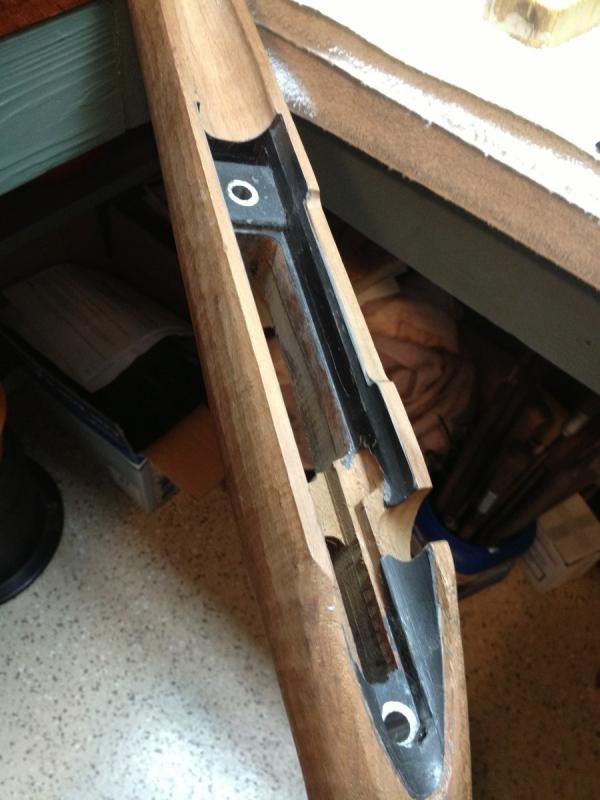
I then bedded in the entire action, including the complete mag well. Every square bit of wood eventually was covered with Marine Tex. I even Marine Tex'd the entire bottom metal assembly as well. The barrel is completely free floated from the recoil lug and I eliminated the front forend screw. The pics show the progression.

On to the Flutes:


More in post #2
I bought this 1959 Alaskan from a well known model 70 dealer on the east coast about 2 years ago and when I got my hands on it I was really upset. The stock was cracked at the tang and at the rear of the trigger guard. It had been glass bedded. Someone had drilled a hole across the stock and filled the hole with epoxy in the same spot where a cross bolt is usually installed. None of this was disclosed at time of sale, nor did the pictures show this. I even called and talked live to the dealer and asked if there was anything not original with the stock ( he said "no").
Anyway I scoped it and shot it. It would group 2 close together and one flyer everytime. I started checking screw tightening, sequence of tightening, forearm screw torque, etc.. all the things I know to mess with on the M70's. Nothing worked. But when I paid attention and loosened the front action screw in the dead quiet, with my ear close, I could hear the barrel squeaking. I took it apart, reassembled, and tried again.... Squeak!! Okay I had a stock issue.
Well now the cool part. Found a stock that was rough inletted, barrel channel the size of a pencil, it had a Weatherby esque comb, and the bolt would not even fit in the slot. Best part it was 75 bucks. I bought it. The wrist was huge, and the forearm was really wide. Here was the day I started:

So I again wanted to go old school with no power tools. First up, cut to fit. This made me nervous but going slow I was able to maintain a straight cut and then sand it square in short order.

Then with a course file I knocked down the comb to a more classic M70 look.

After that i inletted the barrel channel, rear tang, and set the pillars:


I then bedded in the entire action, including the complete mag well. Every square bit of wood eventually was covered with Marine Tex. I even Marine Tex'd the entire bottom metal assembly as well. The barrel is completely free floated from the recoil lug and I eliminated the front forend screw. The pics show the progression.


On to the Flutes:


More in post #2


")