krylon camo

shoots_5

Handloader
May 15, 2009
811
12
Have always wanted to try doing my own camo job on a rifle and finally got up the courage to try it on my 10/22. Thought I would post the results and a quick how to if anyone else was interested. Make sure you take your time doing the prep work of degreasing and taping off anything you don't want to get paint on. Here is the rifle after taping and ready to get the base coat.

Next came a base coat of flat khaki.

Now, go to the craft store and buy a sea sponge, spray the sponge with your other camo colors and dab them on. I used a dark brown and OD green.


The finished product


I was pretty happy with it for my first attempt. Only took about an hour and a half total time. Now I'm ready for some super stealthy squirrel sniper missions! LOL :lol:
 
Very cool! Nice - I haven't used the sponge before.

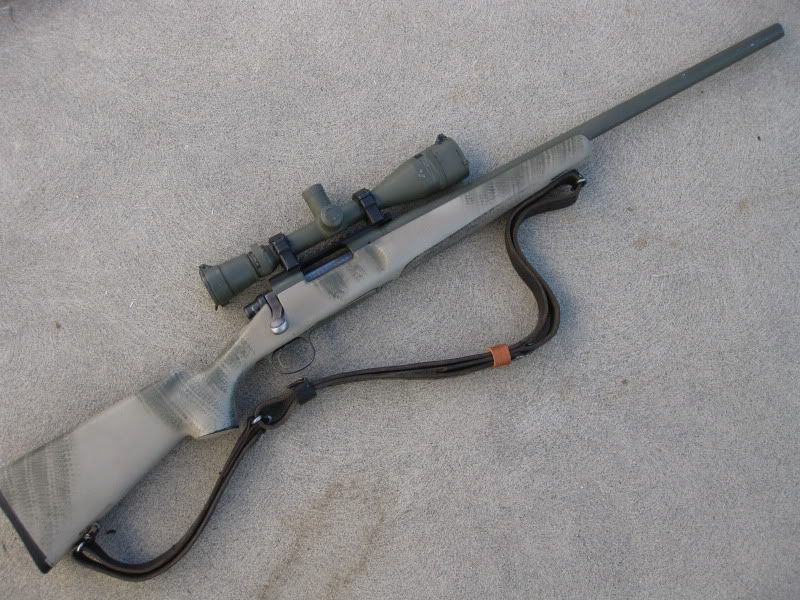
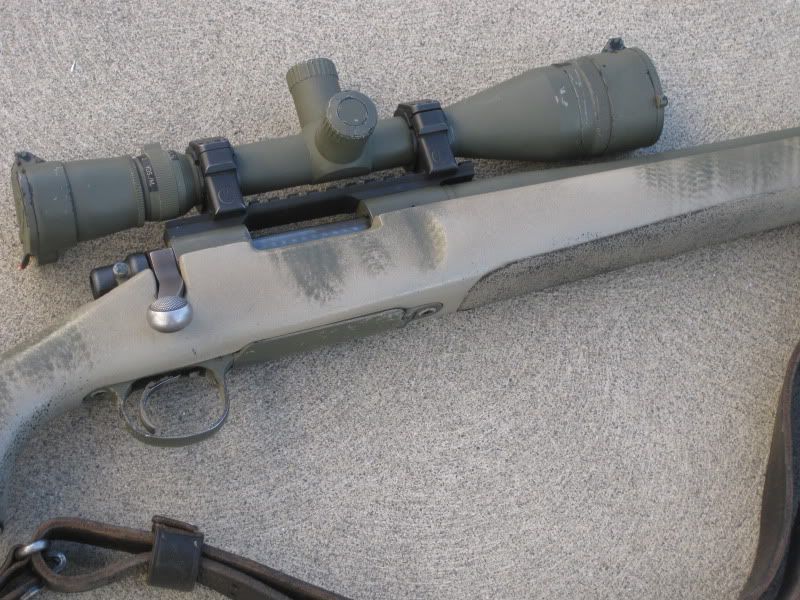
Here's my krylon-camo Rem 700. It's had several paint jobs, as the krylon does tend to wear off with use. I think I first painted it at least 10 - 12 years ago:

IMG_5114.jpg


IMG_5080.jpg


IMG_5084.jpg
 
That's very nice looking guys. I have never done that to one of my rifles, but my buddy Don took a Remington 700 Varmint in 6mm Remington (with a wood stock) and painted it years ago. He touches it up now and then. He used leaves and grass and things like that as a template he placed beside the stock when he did his layering over the top of the base coat. It turned out pretty nice but I cannot believe he did that to a wood stock! :oops: :cry:
David
 
Hey that's a good looking camo job. I did a snake skin a while back and I was happy with the result also.

Fishing083.jpg

Fishing084.jpg
 
DF, I actually saw that one when i was doing some research trying to decide what i wanted to do. I really liked yours and thought about attempting to copy it but after reading about the sponge method and seeing a few examples I elected to go that route. It was super easy to do!

guy, that's a good looking remington. Next time you need a touch up you should try the sponge. You can pluck some material out to tailor how the pattern looks. It really is amazingly simple compared to some of the methods I've seen.
 
Shoots
These are really cool.!!!!! I would trip over the one in the rocks before I saw it.
So you applied the base coat then took the sponge, sprayed on a color and dabbed it on the rifle???
So if my base coat is black then I dab, the green, brown etc on with the sponge??? Is that correct ?
How do you think hunter orange would look?
Great pictures and idea.
 
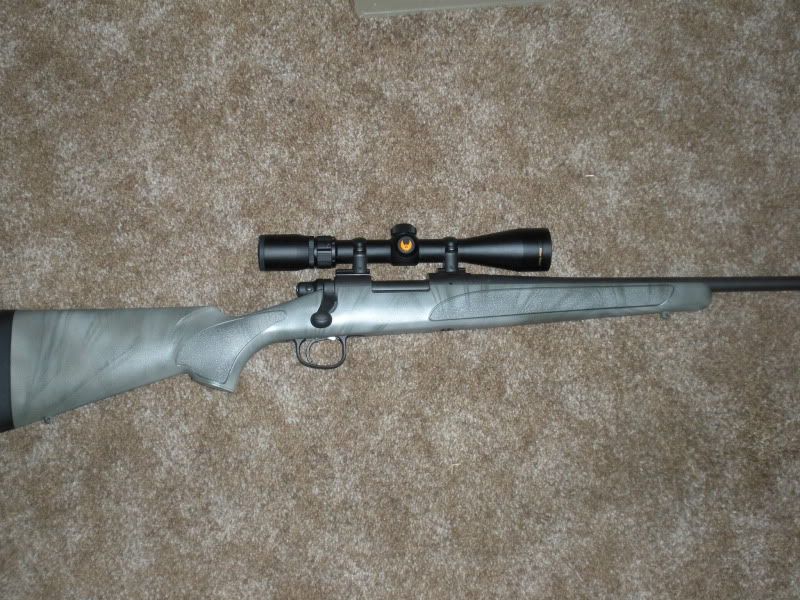
Im sure you guys are sick of seein this picture but here is mine that I sprayed.
DSCN5069.jpg

DSCN4570.jpg

I also painted my Marlin 981T the same way. Looks almost identical.

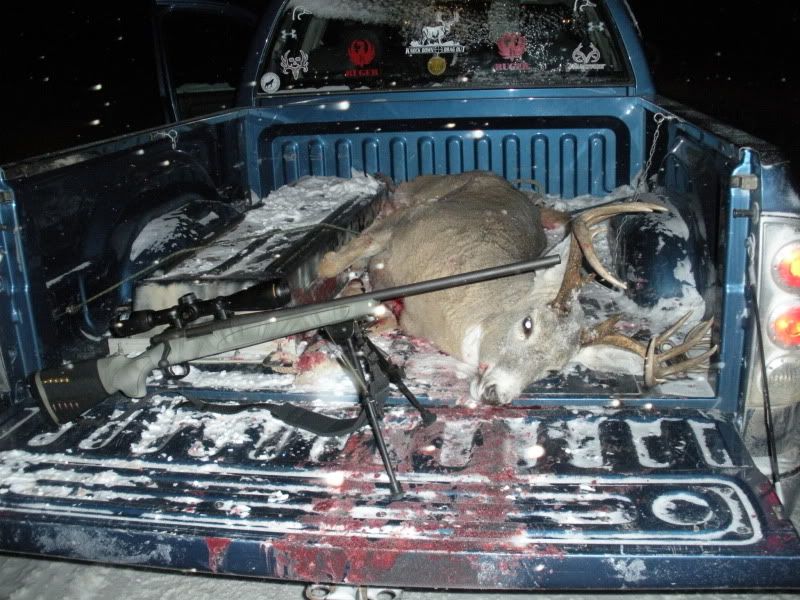
Painted my 22-250 for huntin coyotes in the snow
DSCN4316.jpg
 
Elkman, yup, you got it. Base color first then dab on the accent colors with the sponge. I recommend going out and getting the sea sponge (ask your wife to grab one at the craft store) over a regular cleaning sponge....makes a really nice pattern. Depending on how hard you push down you get either a sparse pattern or push harder for a more solid pattern. It really is ridiculously easy. I was really scared of screwing it up, so I practiced on a cardboard tube first. Then I went for it, and I'm glad I did!
 
Nicely done fellas!!

Shoots_5: Is that a specific type/mix of paint? Seems that it adhered well to all of the different surfaces (perhaps the base coat was a primer, or just a base?)

Cool stuff.

Ben
 
Out of curiosity, how are you guys (Songdog & Deertracker) getting the grass blade effect in your camo painting? That's a look I might like to try on my Colt Light Rifle's stock. You can't get much in the way of aftermarket except from NULA (for ~$450-500 per stock, and I paid less for the whole rifle!) so I'm thinking I might customize it a bit. I like the grass blade effect you guys did. Clue me in on technique?
 
dubyam":pxncp5ff said:
Out of curiosity, how are you guys (Songdog & Deertracker) getting the grass blade effect in your camo painting?

Here you go... a photo demo....

First I lay down a base coat.... just like in the above picture (in this case, Sage Green Krylon)
DSC01146.jpg


Then, I get a small clump of grass (either real or synthetic) and lay it across the stock
DSC01147.jpg


When I paint over the grass (with Dark Green Krylon in this case), I try to hold the can a little further away and move quickly across the area... that way the lines aren't as "hard" and it gives a little more depth to the camo.
DSC01148.jpg


I then go back over the top with either another color (in this case Khaki Krylon) and move the grass around at different angles, or with a light misting coat of the original base color. This obscures this lines a little more, and creates the shadow/multi-color pattern.
DSC01150.jpg


It's actually pretty easy and takes less than an hour.... If you want to send me your stock, I'll do it for you...
 
Well doesn't that just look super easy! I may have to try that out. Might even paint the Weatherby tupperware while I'm saving up for a B&C Medalist. Hmmm...lots of options. Always thought black and grey with a touch of dark green and tan would work well in my area in winter. Hmmm...
 
I am impressed by the artistic abilities of the crew that posts on this forum. That is just neat.
 
Really cool. I put a new scope on my 300 so its not sighted in as yet. I might just pull it off and give this a try. Its already wearing thin just forward of the magazine. I guess packing it 30 days or so each year is hard on the paint.
 
Back
Top